How to Use a Banneton Proofing Bowl for Better Bread (Beginner’s Guide)
Want bakery-style sourdough at home? Learn how to use a German-made proofing bowl (banneton) for perfect shape, rise, and crust no sticky bowls or flat loaves.
So, you’ve caught the sourdough bug (welcome!). Your starter’s bubbling, flour is stocked, apron’s ready now it’s time for one of the most important tools in your bread-making kit: the proofing bowl (also called a banneton or brotform).
If you’ve been using a wood wick bowl, glass bowl, or plastic container, it’s time to level up your bread-making setup. Investing in a quality compressed wood pulp banneton like the ones used by professional bakers across Europe gives your dough structure, shape, and a crisp crust you simply can’t achieve otherwise.
What Is a Proofing Bowl (and Why You Need One)
A banneton supports your dough during its final rise (proof). Without one, dough can spread, flatten, or stick to standard bowls ruining the structure and final crust.
Our German-made proofing bowls are crafted from compressed, sustainable wood pulp the same used by artisan bakers.
They help to:
- Hold the dough’s shape
- Develop a better, crunchier crust
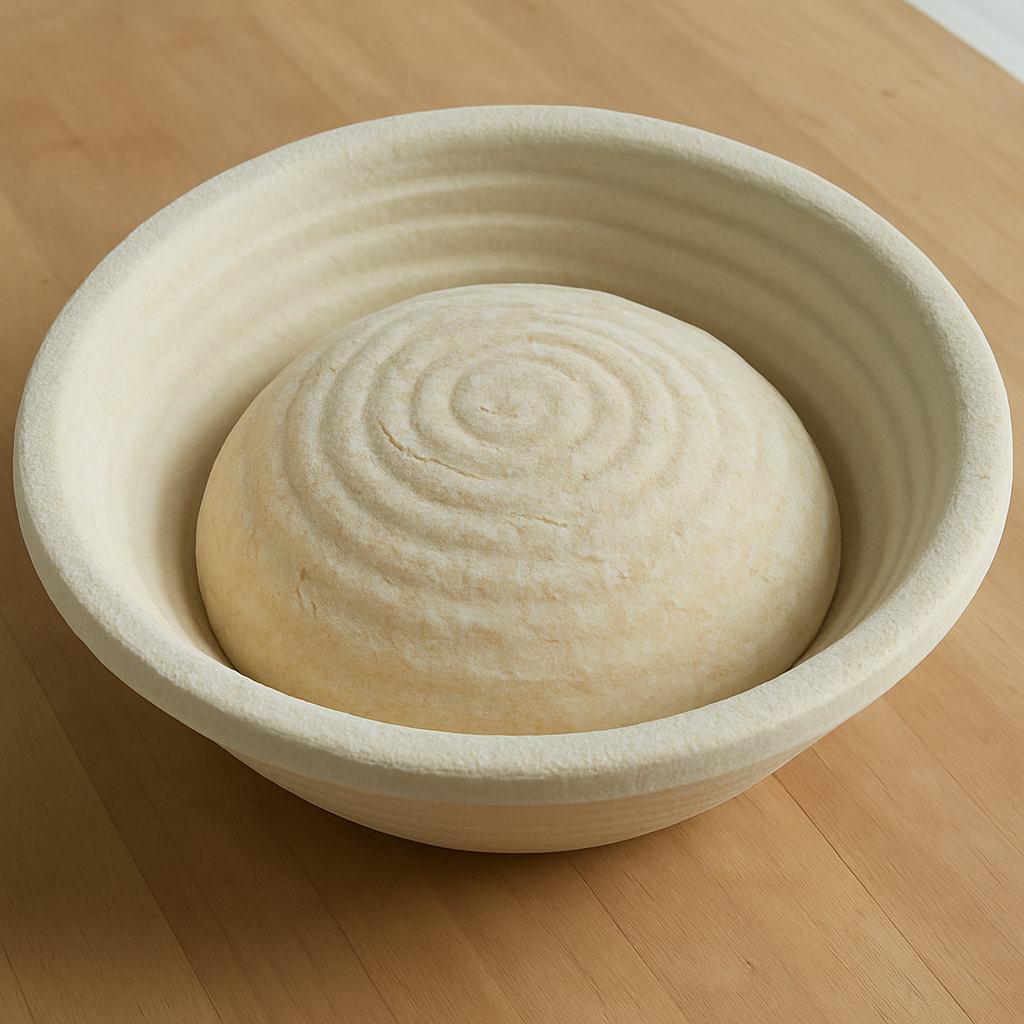
- Create beautiful spiral patterns (if using a lined or ridged bowl)

How to Use a Banneton (Step by Step)
1. Flour the Bowl
Dust with rice flour or a 50/50 mix of plain and rice flour to prevent sticking.
2. Add the Dough Seam-Side Up
The bottom of the dough faces up. This becomes the bottom crust when flipped before baking.
3. Cover & Let Rise
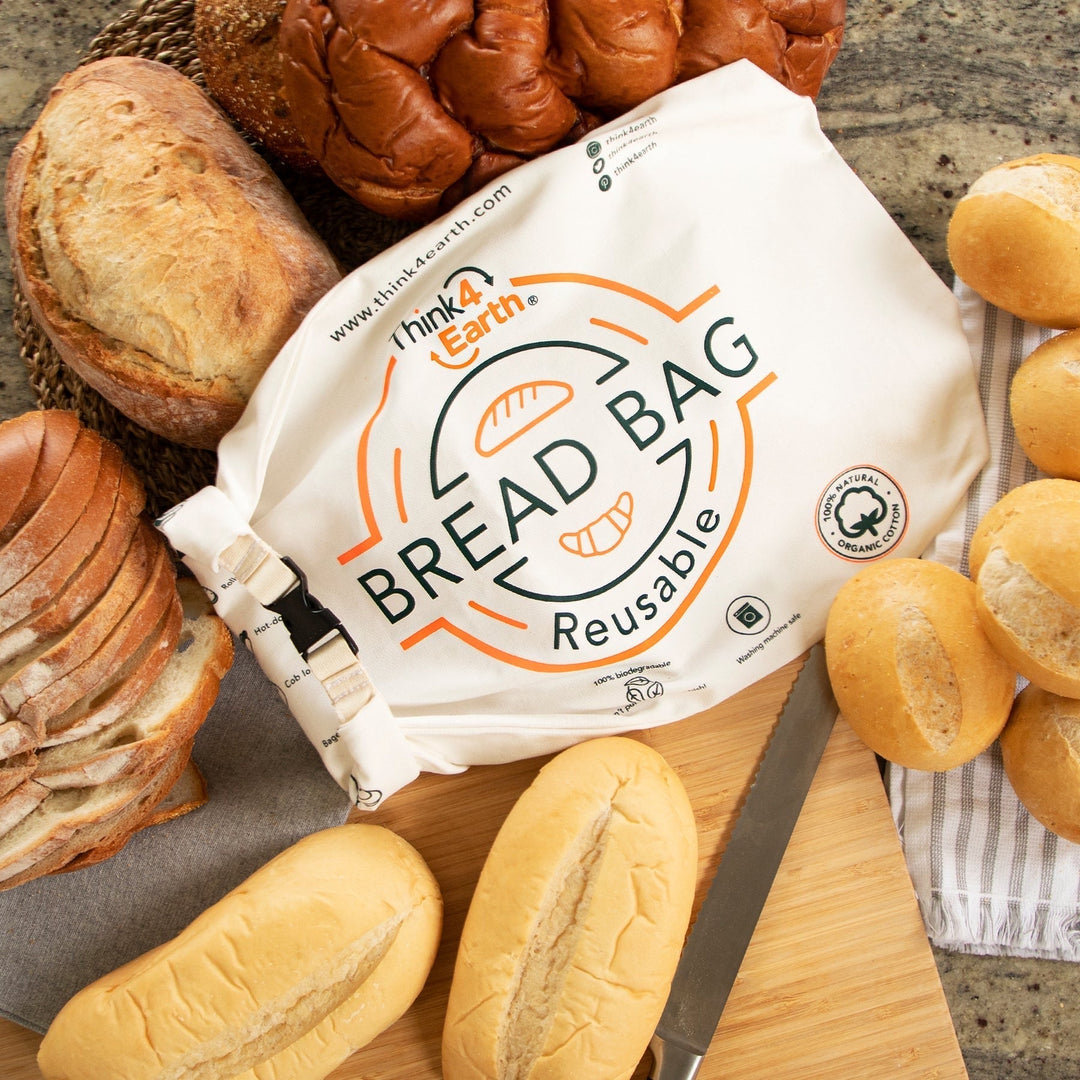
Cover with a tea towel, beeswax wrap, or your reusable bread bag.
Leave to proof at room temp or overnight in the fridge for better depth of flavour.
4. Flip, Score & Bake
When ready, flip your dough onto a bread board or into your Dutch oven. Use a sharp lame to score your dough and guide the rise this is where a high-quality tool makes all the difference.
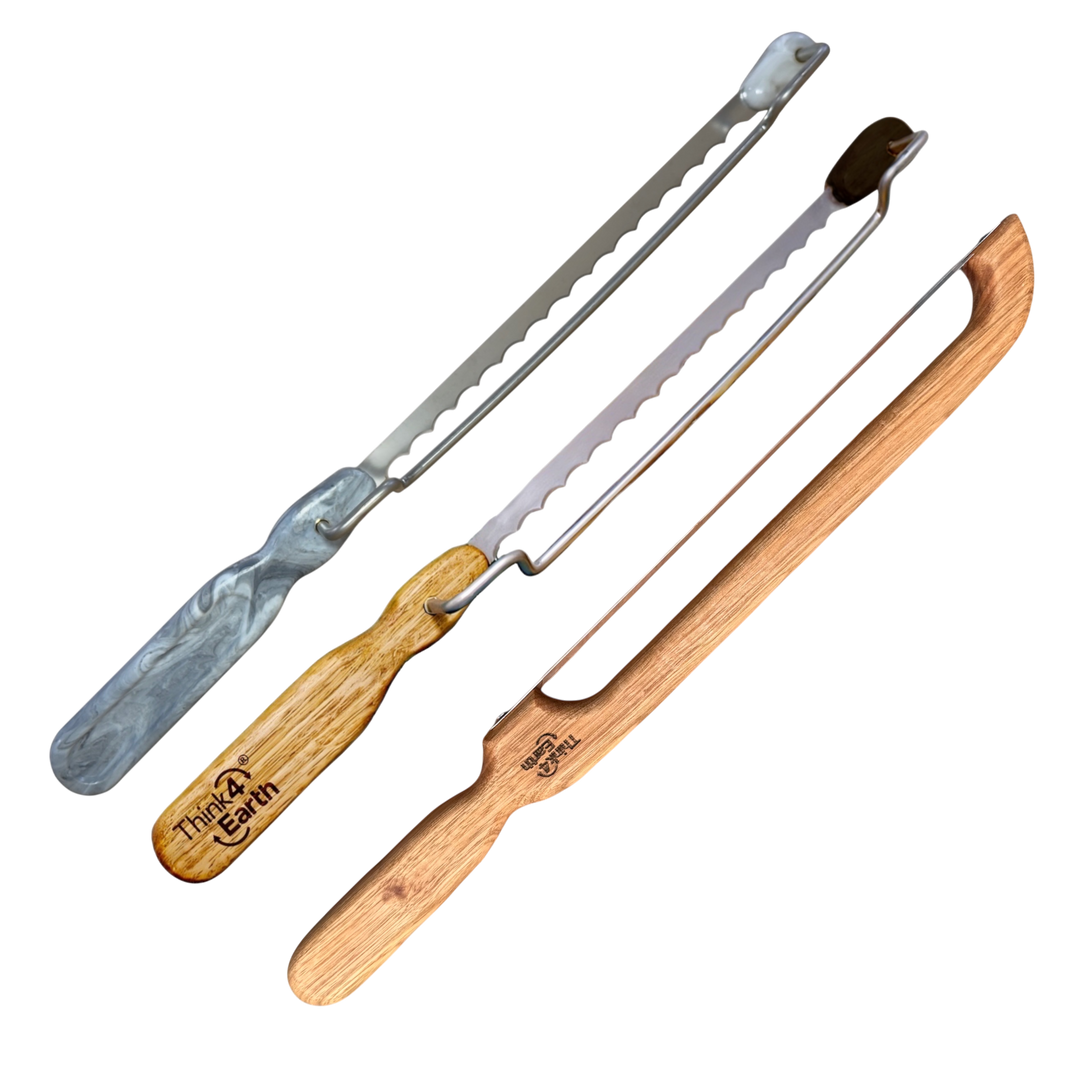
If you’re slicing into your finished loaf, our Think4Earth bread saw (bread knife)is designed to cut through even the crustiest sourdough with clean, effortless strokes. Whether you prefer thick slabs or thin slices, it delivers bakery-style precision at home.

Banneton Aftercare: Keep It Clean & Dry
- Allow them to dry completely after use. Never wash with water simply let them air dry between uses.
- Use residual oven heat to deep-clean: place the dry bowl in your oven at 120°C (210–250°F) for 20–30 minutes to wick away moisture and kill any germs.
- Brush out excess flour once dry, using a stiff (but not abrasive) brush, available here.
- Store in a well-ventilated area. Avoid humid spots and never stack damp bannetons this helps prevent mold, especially in humid climates.
Over time, your bowl will develop a seasoned surface that improves performance and reduces sticking.
What Are Those Brown Marks?
Noticed small brown spots on your proofing bowl? Don’t worry they’re lignin spots, not dirt or damage. Lignin is a natural compound found in wood, and these harmless marks occur when it reacts to heat during manufacturing. It’s totally normal and expected in wood pulp bannetons, especially the high-quality ones made in Germany like ours.

Ready to Upgrade Your Loaves?
Shop Our German-Made Proofing Bowls
Made from sustainable compressed wood pulp, trusted by artisan bakers across Europe.
Now that you’ve mastered how to proof like a professional German baker, it’s time to take the next step. Pair your banneton with our Bread Saw (bread knife) for smooth, controlled slicing once your loaf is baked because the right tools don’t stop at proofing.
FAQs:
1. What is a banneton used for?
It helps shape sourdough during the final rise and supports crust development.
2. How do I stop dough from sticking?
Dust with rice flour or a 50/50 flour blend. Never skip this step!
3. Can I wash my proofing bowl?
No. Just brush it out and dry. For deep cleaning, place in a 100°C oven for 30 mins.
4. What’s it made from?
Our bowls are made in Germany from compressed wood pulp breathable, durable, and sustainable.


